


Water Heater Maintenance
As tank water heaters age, lime scale will build up on the inside of the tank. The way this sediment layers on the tank walls and bottom traps small amounts of moisture in little pockets. When the water inside the tank changes temperature quickly or the pressure inside the tank changes dramatically, it causes the sediment to violently pop and break off.
This can be quite loud at times. It often sounds like popcorn popping, deep rumbling, or random knocking. Although this noise can be alarming, most of the time it doesn’t indicate imminent failure of the water heater. That being said, this noise is often worse toward the end of a water heater’s normal life-expectancy (10-12 years for a gas tank-style heater in this area).
Here in the North Texas/ DFW area, the water is typically quite hard with a total hardness of around 150 PPM. Read about the different hardness classification here at USGS.gov. Dissolved calcium and minerals are responsible for this hardness.
The best way to prevent sediment popping noises from happening in the first place is to regularly flush your water heater. Sometimes flushing will also make this sound better if it has already started, but unfortunately there is no sure way of eliminating it completely. Check out this youtube video on how to properly flush a water heater.
Sometimes you will also hear sizzling noises. This is usually caused by condensation on the inside of the flue dripping down on the hot burner below. This is pretty normal, especially in the North Texas area where there is higher humidity. If it is not stopping, though, you may need to check to make sure the water heater isn’t leaking.
You may also hear a clanging metal noise from a water heater as well. Most of the time, this is caused by the metal baffle insert taping the inside of the flue. If this noise is persistent, the baffle can be adjusted for a tighter fit.
For more information on noises that water heaters make, check out this Rheem technical service bulletin.
Manufacturers recommend flushing and draining tank-style water heaters every year to remove sediment buildup inside the tank. They also recommend inspecting the anode rod and replacing it if necessary. Finally, they recommend testing the Temperature and Pressure Relief Valve, cleaning the combustion air intake screen(s), and doing a general visual inspection of the water and vent connections.
Overall, there isn’t much regular maintenance done on a typical tank-style water heater. They are much more “hands-off” than a tankless water heater. Many people just leave the tank alone until there is an issue. However, a more regular maintenance habit will extend the efficiency of your water heater over the course of its life and help you catch issues sooner than you would otherwise
Use a shop vacuum and brush to remove all the dust/dirt/hair from around the base of the water heater. If there is a plastic screen wrapped around the base, remove this and clean it with water. Then use a small vacuum attachment, brush, and compressed air to clean out the void under the water heater where the air is drawn in. If the water heater design doesn’t allow access from the bottom, the burner door and burner assembly may have to be removed in order to do this.
Newer gas tank water heaters have what is called a “closed combustion chamber”. This means that all of the combustion air is drawn through a filter or screen of sorts on the bottom of the heater. If the water heater is located in a dusty/dirty place (most are in utility closets, attics, or garages) then this screen can become partially clogged over time. This tends to be more of a problem if the heater is located in a space where pet hair can accumulate.
An anode rod is a metal rod screwed into the top of the tank which is made out of a weaker metal such as magnesium or aluminum. This sacrificial metal rod protects the steel tank from the inevitable processes of galvanic corrosion and electrolysis which will eventually cause the tank to leak.
Water heaters have what is called a “glass-lined” tank. This usually means there is some sort of lining material sprayed onto the inside of the steel tank. However, this lining isn’t perfect and water will eventually start to corrode the inside of the tank. A properly maintained anode rod will slow this process down. When this rod deteriorates, it is best to replace it with a new one. The manufacturers recommend inspecting the anode rod once a year.
The T&P is what they call the temperature and pressure relief valve. The T&P relief valve is one of the most important safety features of your water heater. If the pressure inside the tank gets over 150 psi or the temperature inside the tank gets over 210 degrees Fahrenheit, it will automatically open up and discharge to a safe location to prevent the water heater from exploding.
A T&P valve is required on every new water heater within the Dallas Fort-Worth Metro. However, each city has slightly different requirements for how to run the drain pipe for this valve. Most of the time in DFW, it is required to be plumbed to the exterior of the home without connecting to anything else. It also may terminate to a hub drain as well if run properly through an air gap.
The T&P valve is located toward the top of the water heater. It is usually on the upper right hand side or on the top side. It will be a brass-colored valve with a pipe connected to it. On the top of the valve there will be a silver lever to manually open it up. Before you test this valve, make sure the T&P drain line is discharging to a safe location. Once you pull up on the little lever and the T&P valve is open, hot water will pour from the T&P drain line. Once you reset the lever, the water should stop completely.
Be aware that operating a T&P valve more than a year old has an increased risk of not shutting off completely. If the valve does not shut off completely or doesn’t allow water to flow through it when opened manually, then it will need to be replaced. The T&P valve is one of the most important safety features of the water heater. It will automatically open if the pressure is over 150 psi or the temperature is over 210 degrees F.
When an expansion tank fails, it will either start leaking at the connection point or the internal rubber bladder will fail and thet tank will fill up with water. Tapping on the outside of the tank at the top and bottom and listening to the sound will usually indicate whether there is compressed air still inside the tank. The sure way to test the expansion tank is to turn off the water, drain off all of the pressure, and check the air pressure with an air pressure gauge. Then, turn on the water again and check the water pressure with a water pressure gauge. These two pressure readings should be about the same.
Learn all about expansion tanks in this blog article and on our service page. These pages go into much more depth about how to properly inspect and check your expansion tank.
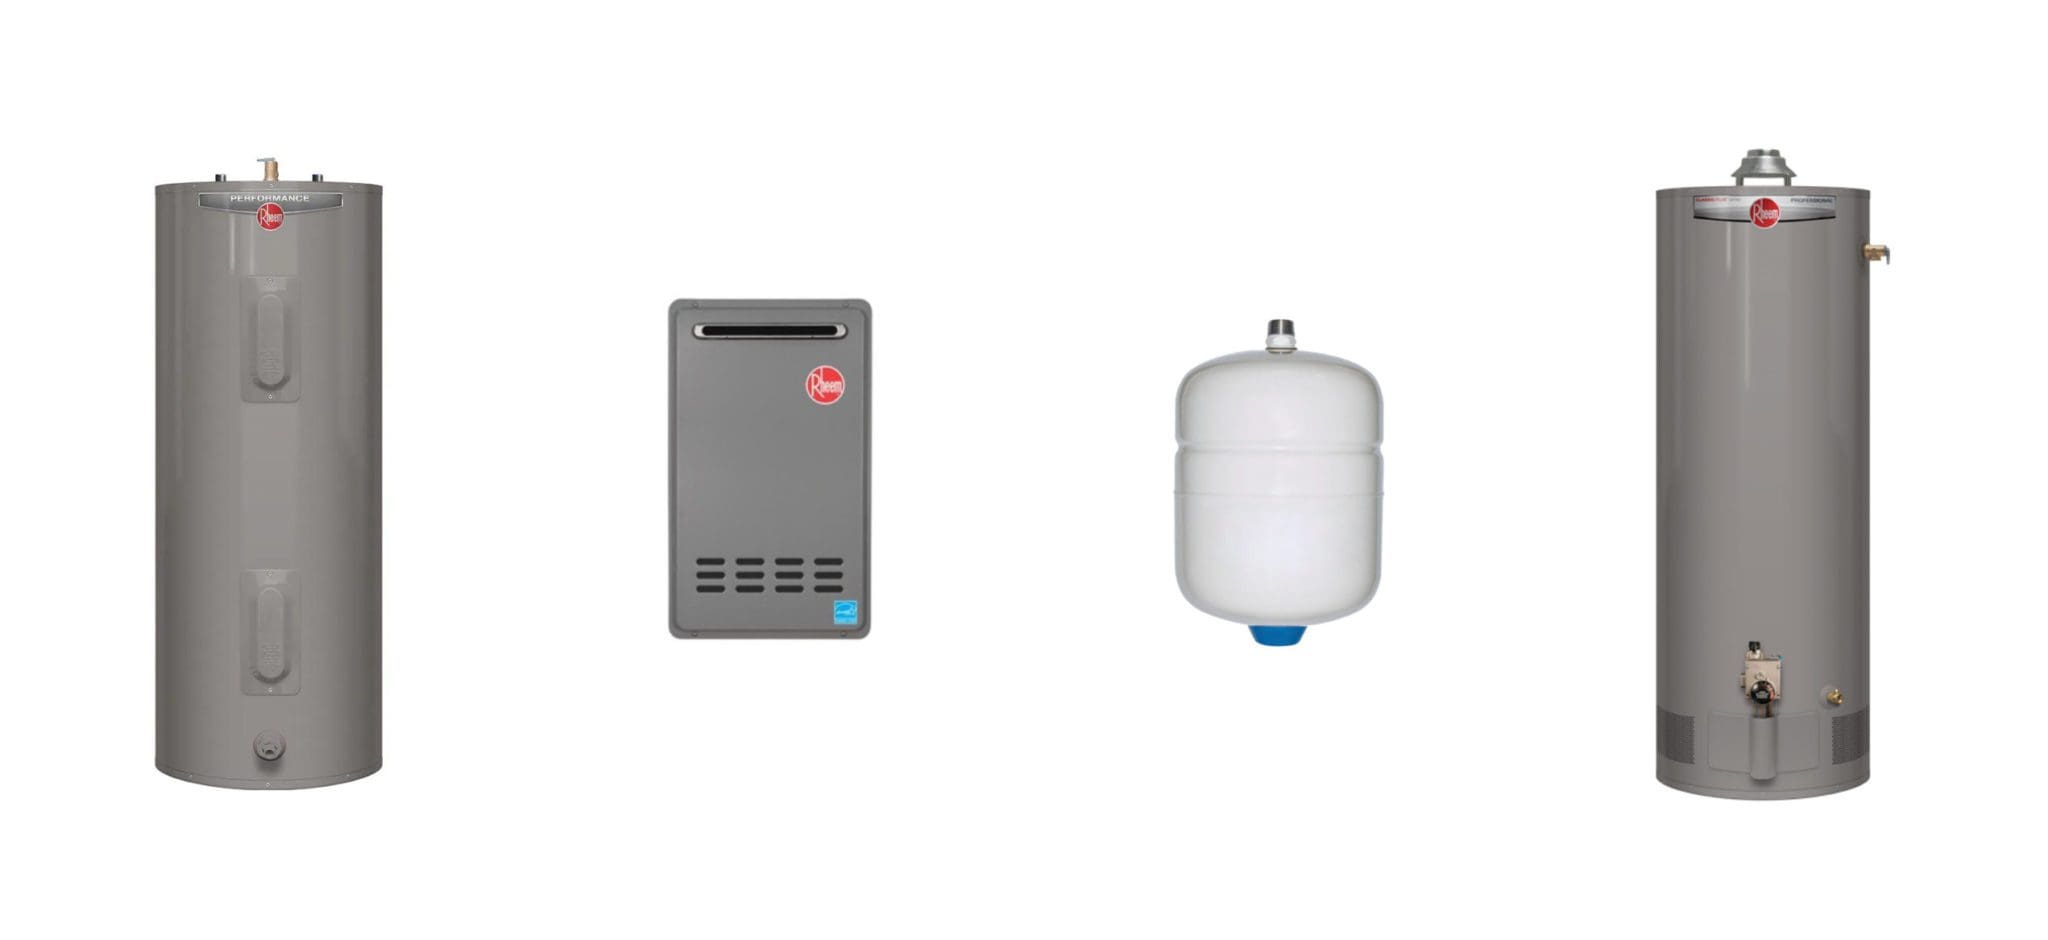
Tank V. Tankless Water Heaters
A tankless water heater is much smaller and can save some space. This is a big factor for some. If the tankless is sized properly, a tankless will never run out of hot water. The tankless is also more energy efficient and will save gas (if the same amount of hot water is used). Finally, a quality tankless unit that is serviced regularly will often outlast typical tank-style water heaters.
A propane or natural gas tankless water heater needs power to operate – unlike a typical tank water heater. This means that if the power goes out, you won’t have any hot water with a tankless unless you have a battery or generator backup. You will continue to have hot water with a gas tank-style heater.
Proper maintenance is a lot more critical on tankless water heaters. If you live in an area with hard water, they need to be flushed with a descaling solution on a regular basis or it will ruin the heat exchanger. There are more specialty parts and more parts to fail in general, so the service and maintenance costs are higher. They have the ability to leak and cause damage just as easily and tank-style water heaters.
Learn more about tankless water heaters and how they should be maintained on our tankless water heater service page.
If you are switching from a tank-style water heater to a tankless, there are a handful of things that will probably need to be upgraded. The way tankless water heaters and tank-style water heaters are vented is completely different. You usually have to run new venting to the exterior of the house. This may involve roof work or alteration to the brick/siding depending on the setup you have.
The gas demand is much higher for tankless as well. The average tank style water heater has about a 40,000 BTU load on the system. You will probably be replacing that with a tankless that has a 175,000-200,000 BTU load on the system. That often means running a new gas line or altering the system to make sure it is sized properly.
In addition to these things, you have to consider the added work in mounting the tankless, the addition of a condensate drain if you have a condensing unit, and rerouting the water lines properly.
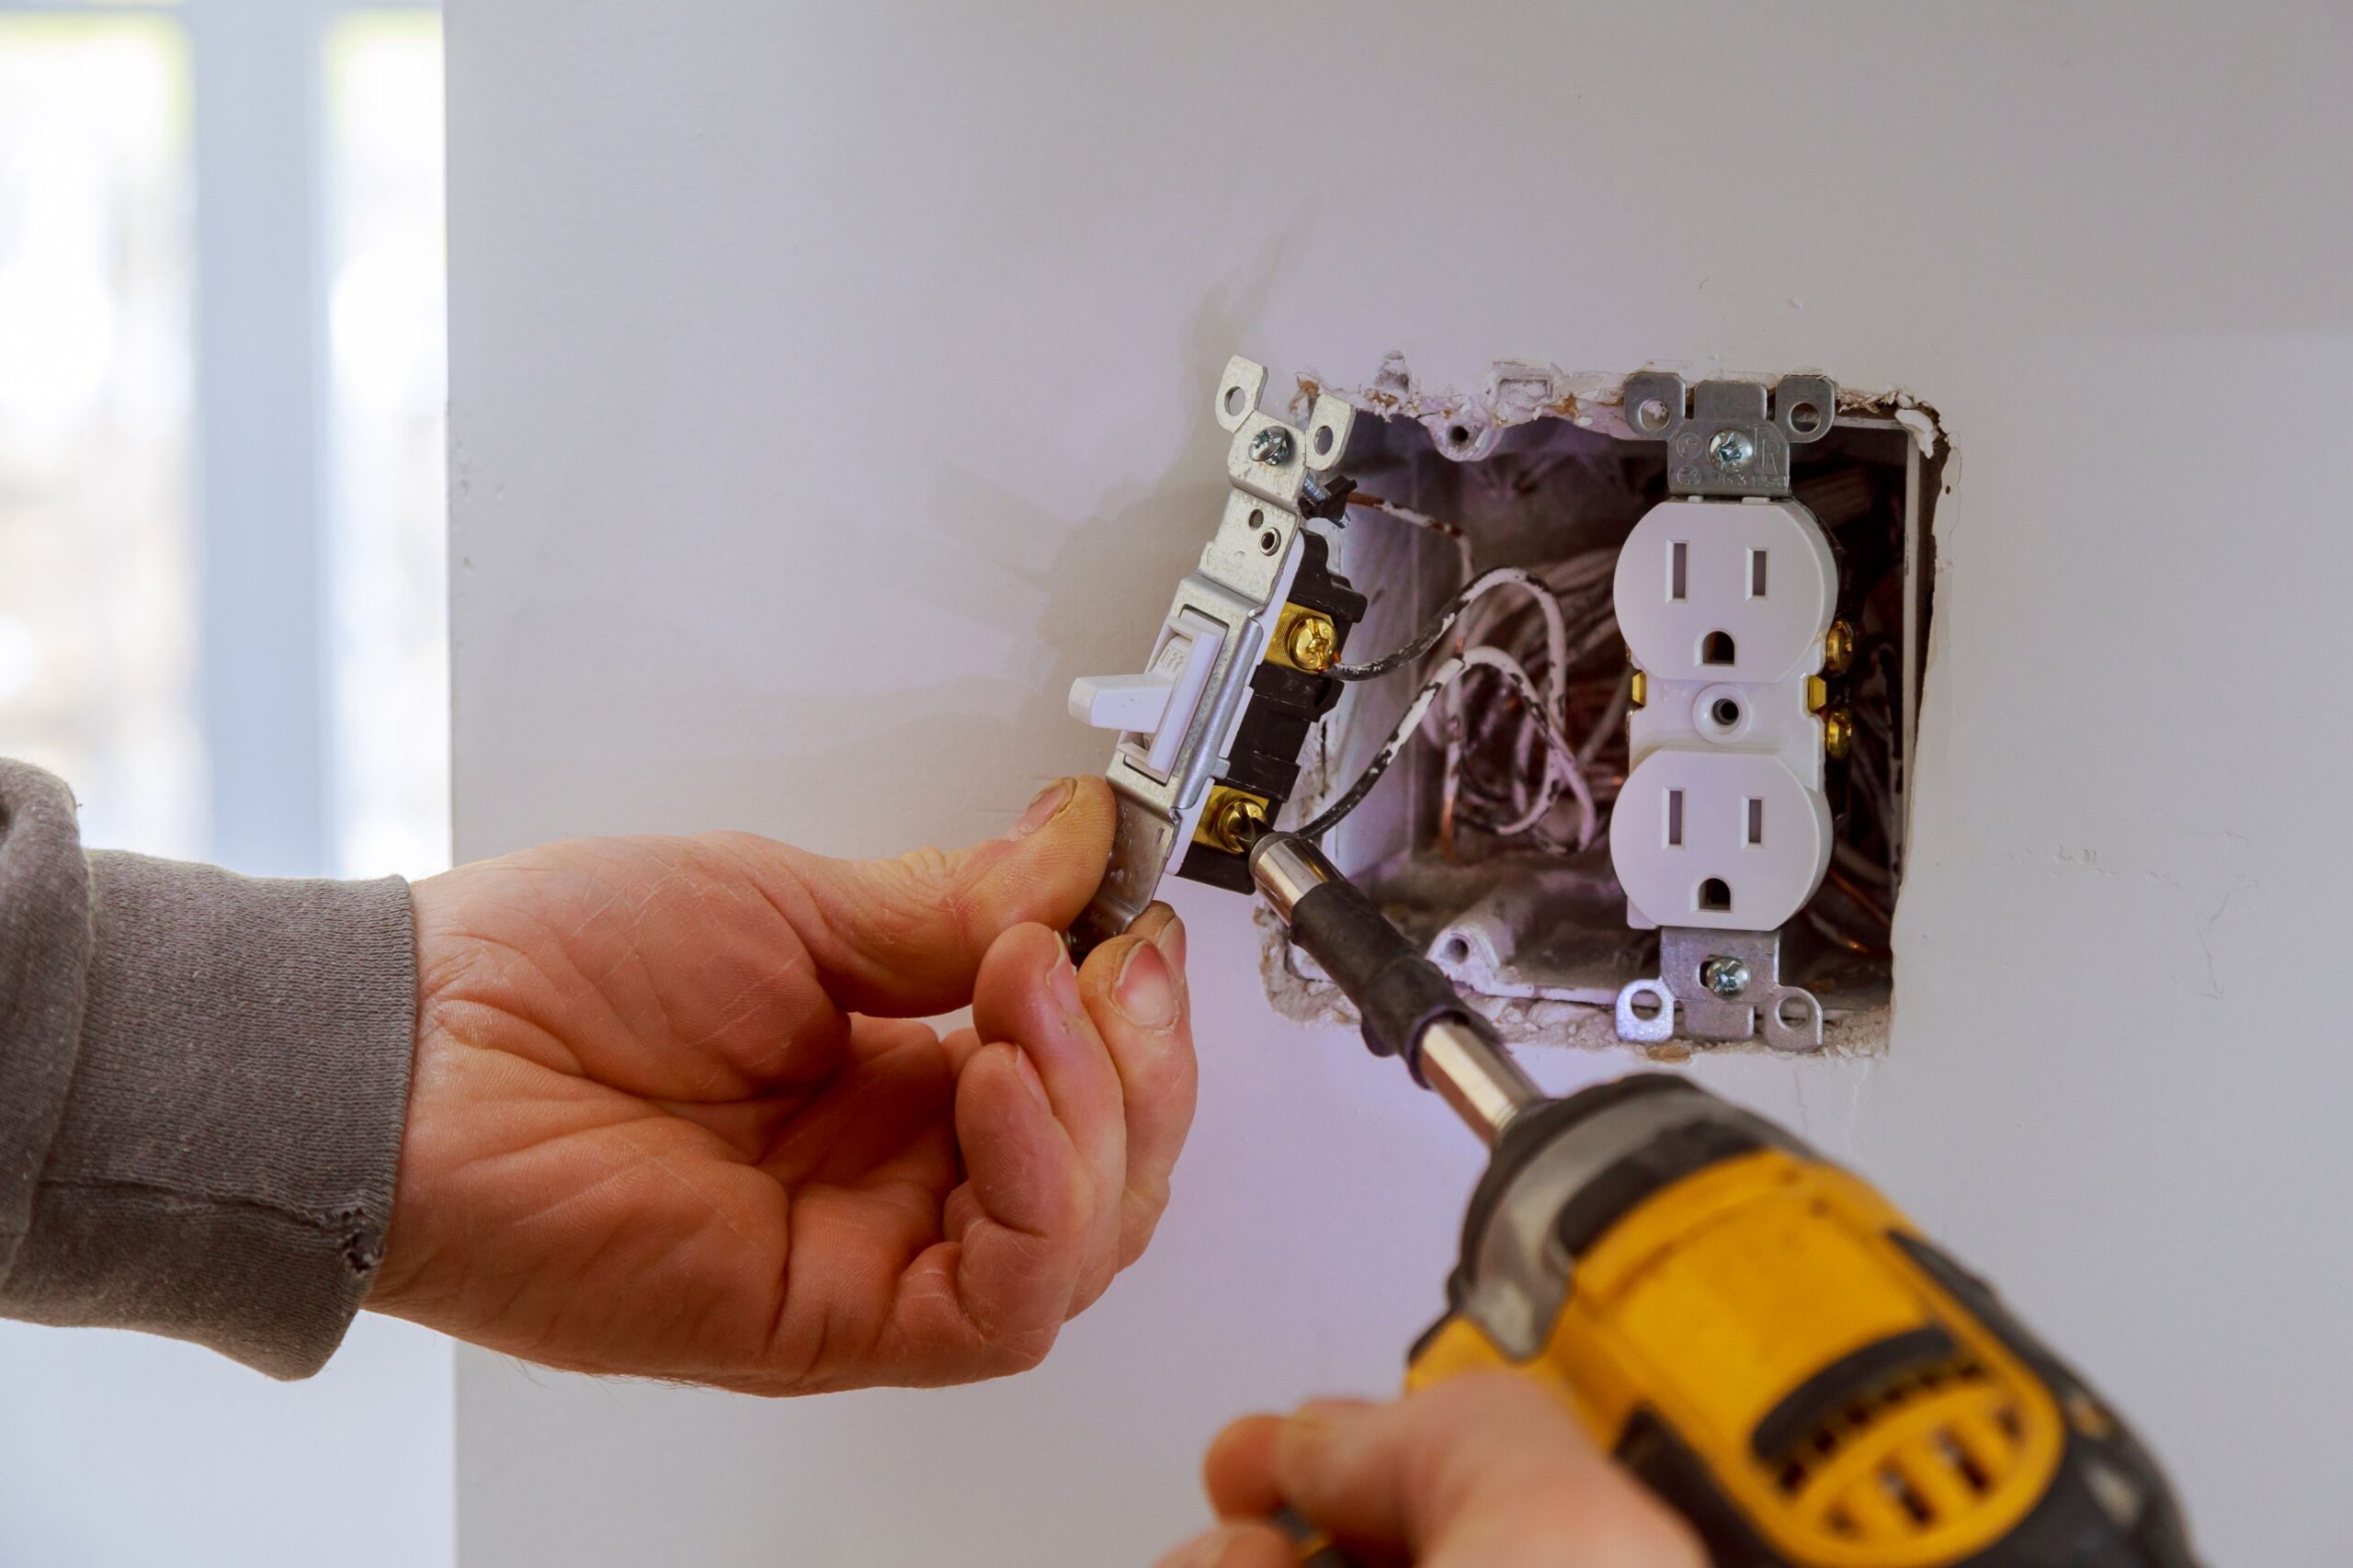
WATER HEATER PLUMBING CONSIDERATIONS
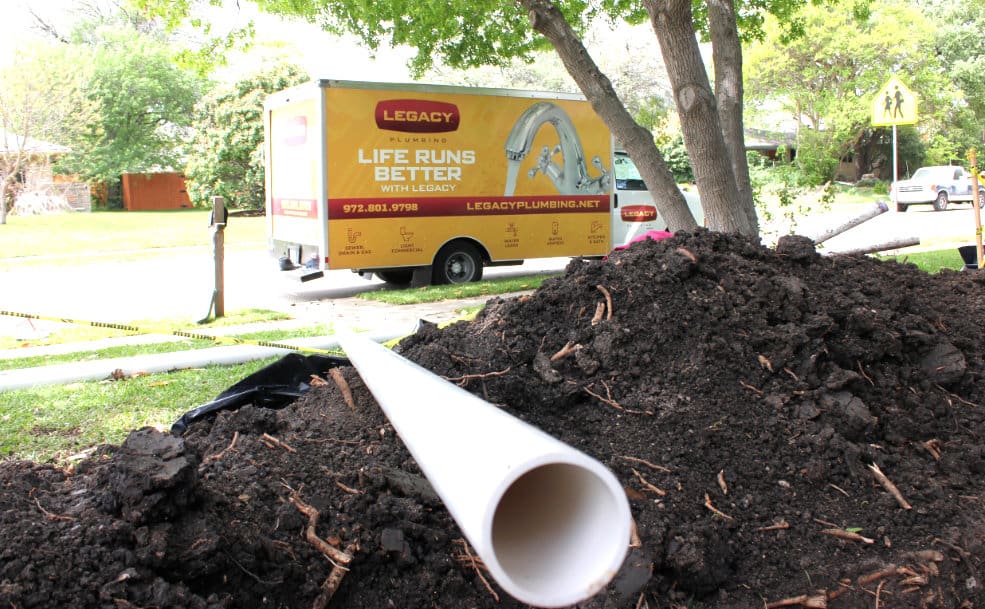
A sediment trap is a t-shaped assembly of piping installed on the gas line near the connection to the hot water heater that prevents sediment and excess oil sometimes found in gas systems from contaminating and ruining your gas control valve on the water heater. Sediment traps did not used to be required in older installations, but they are now required by plumbing code for water heater installations.
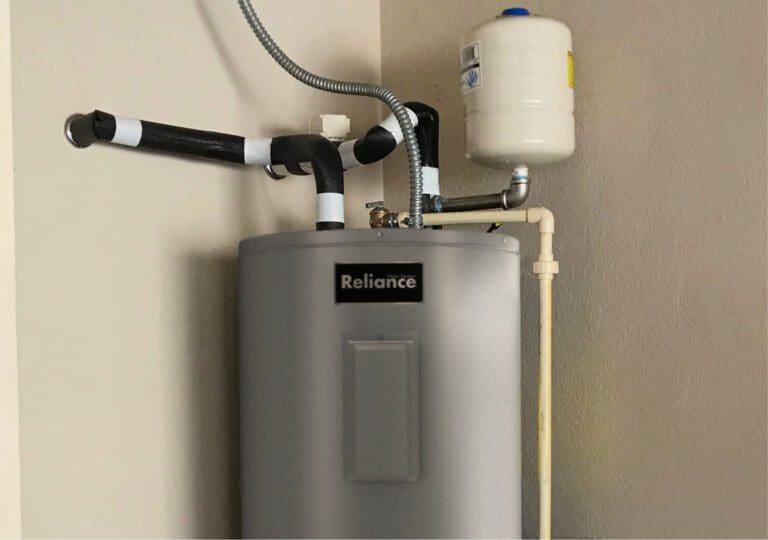
An expansion tank is a roughly-basketball-sized tank (usually cream-colored or blue) that is installed on the cold water line feeding the water heater. It has a charge of pressurized air and a rubber bladder inside of it. It prevents excessive pressure buildup caused by thermal expansion on a closed-loop system. A properly sized expansion tank for a single water heater will be around 2 gallons. For two water heaters, you can either have two expansion tanks or a larger, 4.5 gallon expansion tank.
In DFW, many cities require an expansion tank on every water heater installation. In other cities, it is only required when you have a closed-loop system. If you already have an expansion tank on your old water heater, it typically needs to be replaced with the water heater due to the wear experienced by the rubber bladder over time. Read more about this on our expansion tank page and blog post.
By plumbing code, a pan is required underneath any storage tank style water heater when it is located in a place where it could cause damage. Cities have varying requirements on what they enforce, though. There are slightly different requirements for how the pan drain pipe needs to be run and how it needs to be terminated. Some are required to run to the exterior of the home. Some can terminate to the garage floor when the water heater is installed in the garage. Some can terminate to an indirect waste hub if located in an interior closet.
Every water heater will leak given enough time, so it is always a good idea to install one. Thankfully, the majority of cities have made this a requirement. We have seen many homes damaged by leaking water heaters.
The best way to tell whether your tank style water heater is equipped for natural gas or for propane is to look at the rating sticker. This sticker will have the model and serial number along with other details like how many gallons it is. Somewhere on the sticker you will see something like “Gas Type: Natural” if it is a natural gas heater. If it is a propane gas heater, you will see: “Gas Type: Propane” or “Equipped For: Propane”.
Very frequently, gas control valves designed for propane have red colored knobs and dials as opposed to the black ones found on most natural gas thermostats. This is not universal, though, so check the rating plate to make sure.
Although propane and natural gas water heaters are very similar, they have different gas control valves and orifice sizes to accommodate the different design pressures and properties of both gases.
By far, the most common water heater size installed in this area is 50 gallons. Depending on the size of the home, there may be one, two, or even three 50 gallon water heaters that serve all of the hot water fixtures.
Typical construction practice is to install one water heater for a home with up to three shower heads. When there are more than three shower heads or there is a large roman tub, there will typically be two 50 gallon water heaters installed to supply the amount of hot water needed. These water heaters can be in separate locations or installed side-by-side.
There are various factors to consider when sizing a water heater to a system and calculating the demand of the system: FHR (First Hour Rating), GPM (Gallons Per Minutes) flow rate of fixtures served, total number of fixtures served, temperature setting of the water heater, and the temperature of the incoming water supply.
TROUBLESHOOTING WATER HEATERS
The first thing to check in a situation like this is whether other fixtures are behaving normally or not. If other faucets/showers which are being fed by the same water heater are getting normal hot water, then there probably isn’t an issue with the water heater.
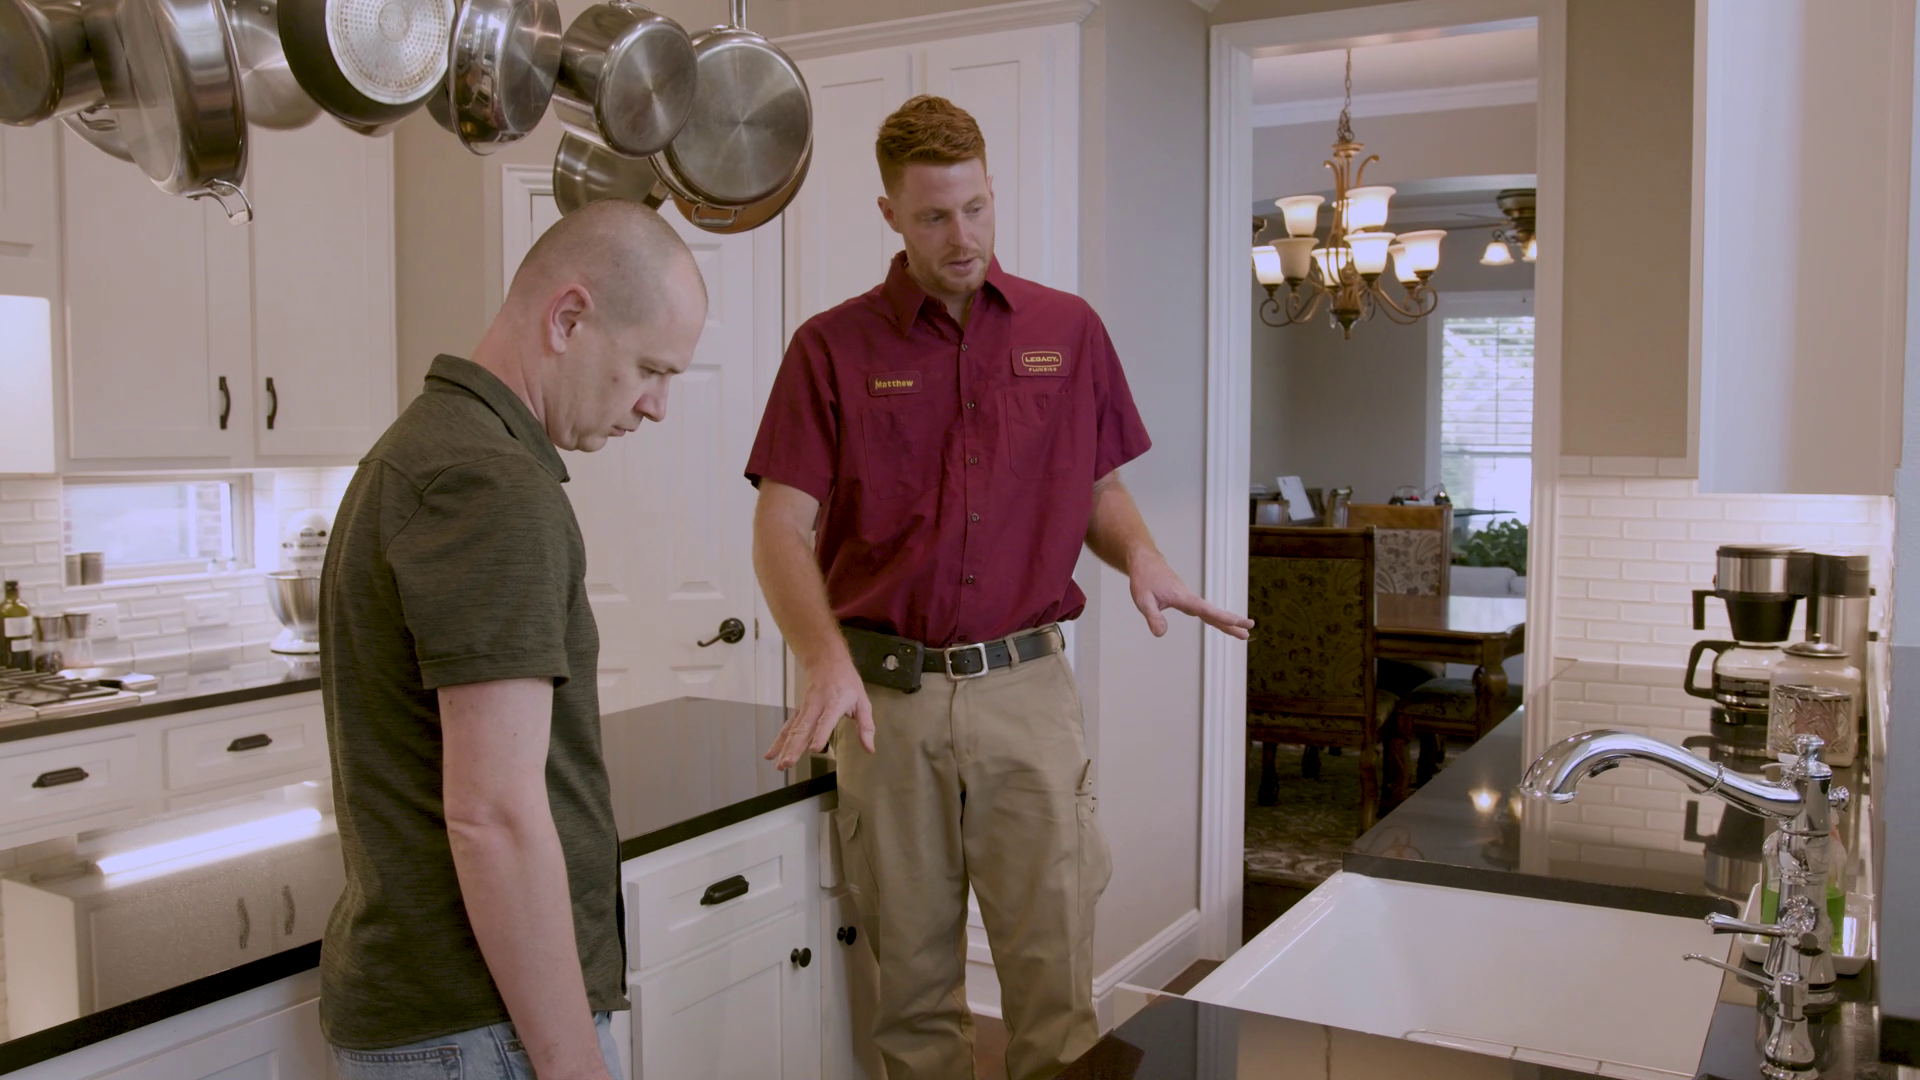
Once the water heater has been ruled out, there are two other possibilities. It could be an issue with the plumbing pipes like a recirculation or mixing issue between the hot and cold piping systems (less likely). Or there could be an issue with that particular faucet (more likely). Sometimes, the hot water side of a faucet can become clogged with debris. Sometimes, the cartridge itself could be compromised. One of the more frequent issues we see with single handle shower valves like the Moen PosiTemp valve is an issue with the pressure-balancing cartridge where cold water comes out just fine, but it slows down to a trickle when you turn it all the way to the hot side. Learn more about faucet repair on our faucet repair/replacement service page.
On a typical residential gas water heater, you will first locate the thermostat or control valve in front of the water heater toward the bottom. Turn the main control knob on top to where it says “pilot”. When it is in this position, you should be able to press it down. As you are holding it down, push the igniter button multiple times. As the pilot ignites, keep the main control knob pushed down for about 30 seconds. Once the thermocouple is fully heated, you should be able to let off the control knob and the pilot will stay lit. From there, turn the main control knob to the on position and set your temperature dial in front to the recommended setting.
All water heaters vary slightly, so read the instructions provided by your manufacturer. Usually, the instructions are printed on a label adhered to the side of the tank. Watch this video to see this process demonstrated.
Leaking Water Heaters
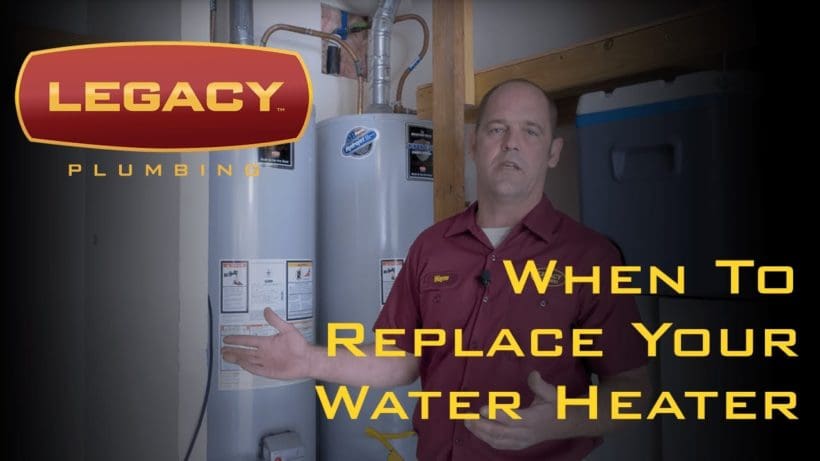
The typical life-expectancy for a gas residential water heater in the North DFW area is about 10-12 years on average. It is about 13-15 years for an electric water heater. This is the usual amount of time it takes before the water corrodes the tank itself and starts to leak.
If the water heater tank itself is leaking, that cannot be repaired. The tank needs to be replaced at that point. If you think that the water heater tank is leaking, first check the age of the heater to see if it is older than 9 years.
If the tank is much younger than that, there is likely something else that is leaking and can be repaired. The supply lines that connect to the top of the water heater are frequent culprits. The T&P relief valve and the drain port also have the possibility of leaking. Finally the thermostat connection on a gas water heater or the element connections on an electric water heater have the potential for leaking as well.
Typical part warranties given by tank water heater manufacturers range from 8-12 years, depending on the model. Within this time period, the manufacturer will cover the cost of the water heater itself. However, the labor warranty offered by the manufacturer is usually only 1-3 years depending on the model you get. This means that if the water heater is outside the labor warranty time period, you will still have to pay out of pocket for a plumbing contractor’s labor to replace the water heater even if it is still under the manufacturer’s part warranty.
That is why it is important to choose a good plumbing company that will stand behind it’s work and offer a longer labor warranty that will not only cover the replacement of the water heater itself if necessary, but also the replacement of other parts like faulty supply lines or expansion tanks. At Legacy, we offer a 4-6 year labor warranty and an 8-12 year tank warranty (depending on the model) for all water heaters that we provide. Find out more on our water heater service page.
If you are unsure whether your existing water heater is under warranty or not, you can often go to the manufacturer’s website and look up the serial number to confirm warranty status. Here are the serial number lookup pages for Rheem,Bradford White, State Water Heaters, and A.O. Smith.
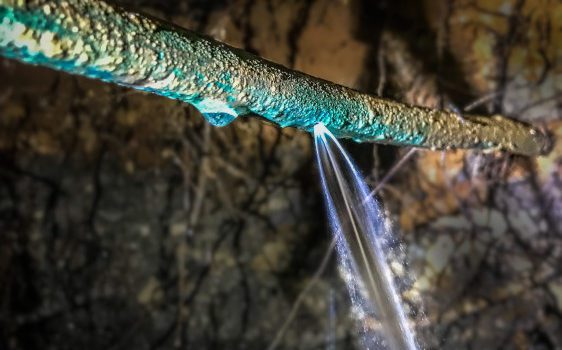
Outside of the water heater itself, the most commonly leaking item on a water heater is at the water supply lines. The hot and cold flexible water pipes that connect to the top of the heater usually are sealed with rubber gaskets. Over time, these gaskets can start to corrode and leak. Usually, this starts slowly enough for you to be able to catch the tell-tale signs of corrosion and water seepage where they connect to the top of the tank. If you see rust or white powdery buildup around these connections, you should probably get them changed out sooner rather than later.
Be aware that older supply lines will sometimes start leaking if they are bumped or moved. If your supply lines have a braided exterior shell and an interior rubber hose, you may also see black particles coming out of your hot water faucets when the rubber starts to deteriorate.
Learn more about water heater repair/replacement on our Gas Water Heater service page and Electric Water Heater service page.
By code, the water heater must have a shut off valve on the cold water line feeding the water heater. If you are facing the front of the water heater, the cold water line is usually the pipe connected to the top right-hand inlet. Follow that pipe back to find the valve.
When this valve is shut off, the water heater itself and all of the hot water pipes past that point will be shut off. Check this valve to make sure it works. The best type of valve to have here is a full-port ball valve with a lever handle. If you have an older-style gate valve or globe valve with a round handle, it may not shut off all the way.
You can test the water heater shut off valve by closing it completely and opening up the hot side of a two-handle faucet (preferably one that is higher up in elevation like on the second floor). The residual water in the system should drain down pretty quickly. The flow from the faucet should go down to a trickle, slow drip, and then eventually stop completely.
If it does not stop completely, then the valve probably doesn’t shut off all the way. There also could be a “crossover” somewhere in the system at a shower valve or mixing valve where the hot side of the system is still being pressurized by the cold side of the system.
Water Heater Venting
The metal single wall or B-vent coming off the top of an atmospherically vented water heater can get quite hot under normal use. There are specific requirements for how much clearance needs to be around these different types of venting to keep it away from any combustible material. The typical requirement is 6 inches away from single wall venting and 1 inch around double wall or B venting.
You would be surprised how many times we find these different types of venting in direct contact with flammable materials such as plywood, insulation, and sheetrock. All it takes is a thermostat malfunction to turn this situation into a serious fire hazard. We make sure the venting on all of the water heaters we replace has proper clearance from the top of the water heater to wherever the vent is terminated. Learn more about proper water heater venting here on this YouTube video.
Double-wall or B-Vent is connected together mechanically. The specific way varies by the manufacturer. Some will twist and lock. Others have tabs that are pressed in to hold the vent pieces together. Single wall venting is secured together with self-tapping sheet metal screws. Less common water heater designs such as direct vent or power vent have different venting materials. Metal strapping must be used to secure the vent so that it will not move around.
The venting for atmospheric water heaters needs to be connected in such a way that it will not come apart and create a carbon monoxide hazard. The venting does not have to be air-tight however. It is not a positive-pressure venting system. Venting should not be connected in any way not specified by the manufacturer and all combustible material must be kept 1 inch away from double wall venting and 6 inches away from single wall venting.
An atmospheric water heater draws dilution air through the space around the draft diverter when it is running. After your heater is fired up, running and the venting is warmed up, put something that produces a light smoke less than an inch away from the space under the draft diverter. (You can use an incense stick, a blown out match, or something like that to create the smoke.)
If the smoke gets sucked up into the vent, that is a sign the water heater is venting properly and drawing in dilution air. If the smoke gets blown outward away from the draft diverter, that is a sign there is an issue with the venting or with a negative air pressure in the space creating carbon monoxide-laden exhaust to spill out into the room where the water heater is located.