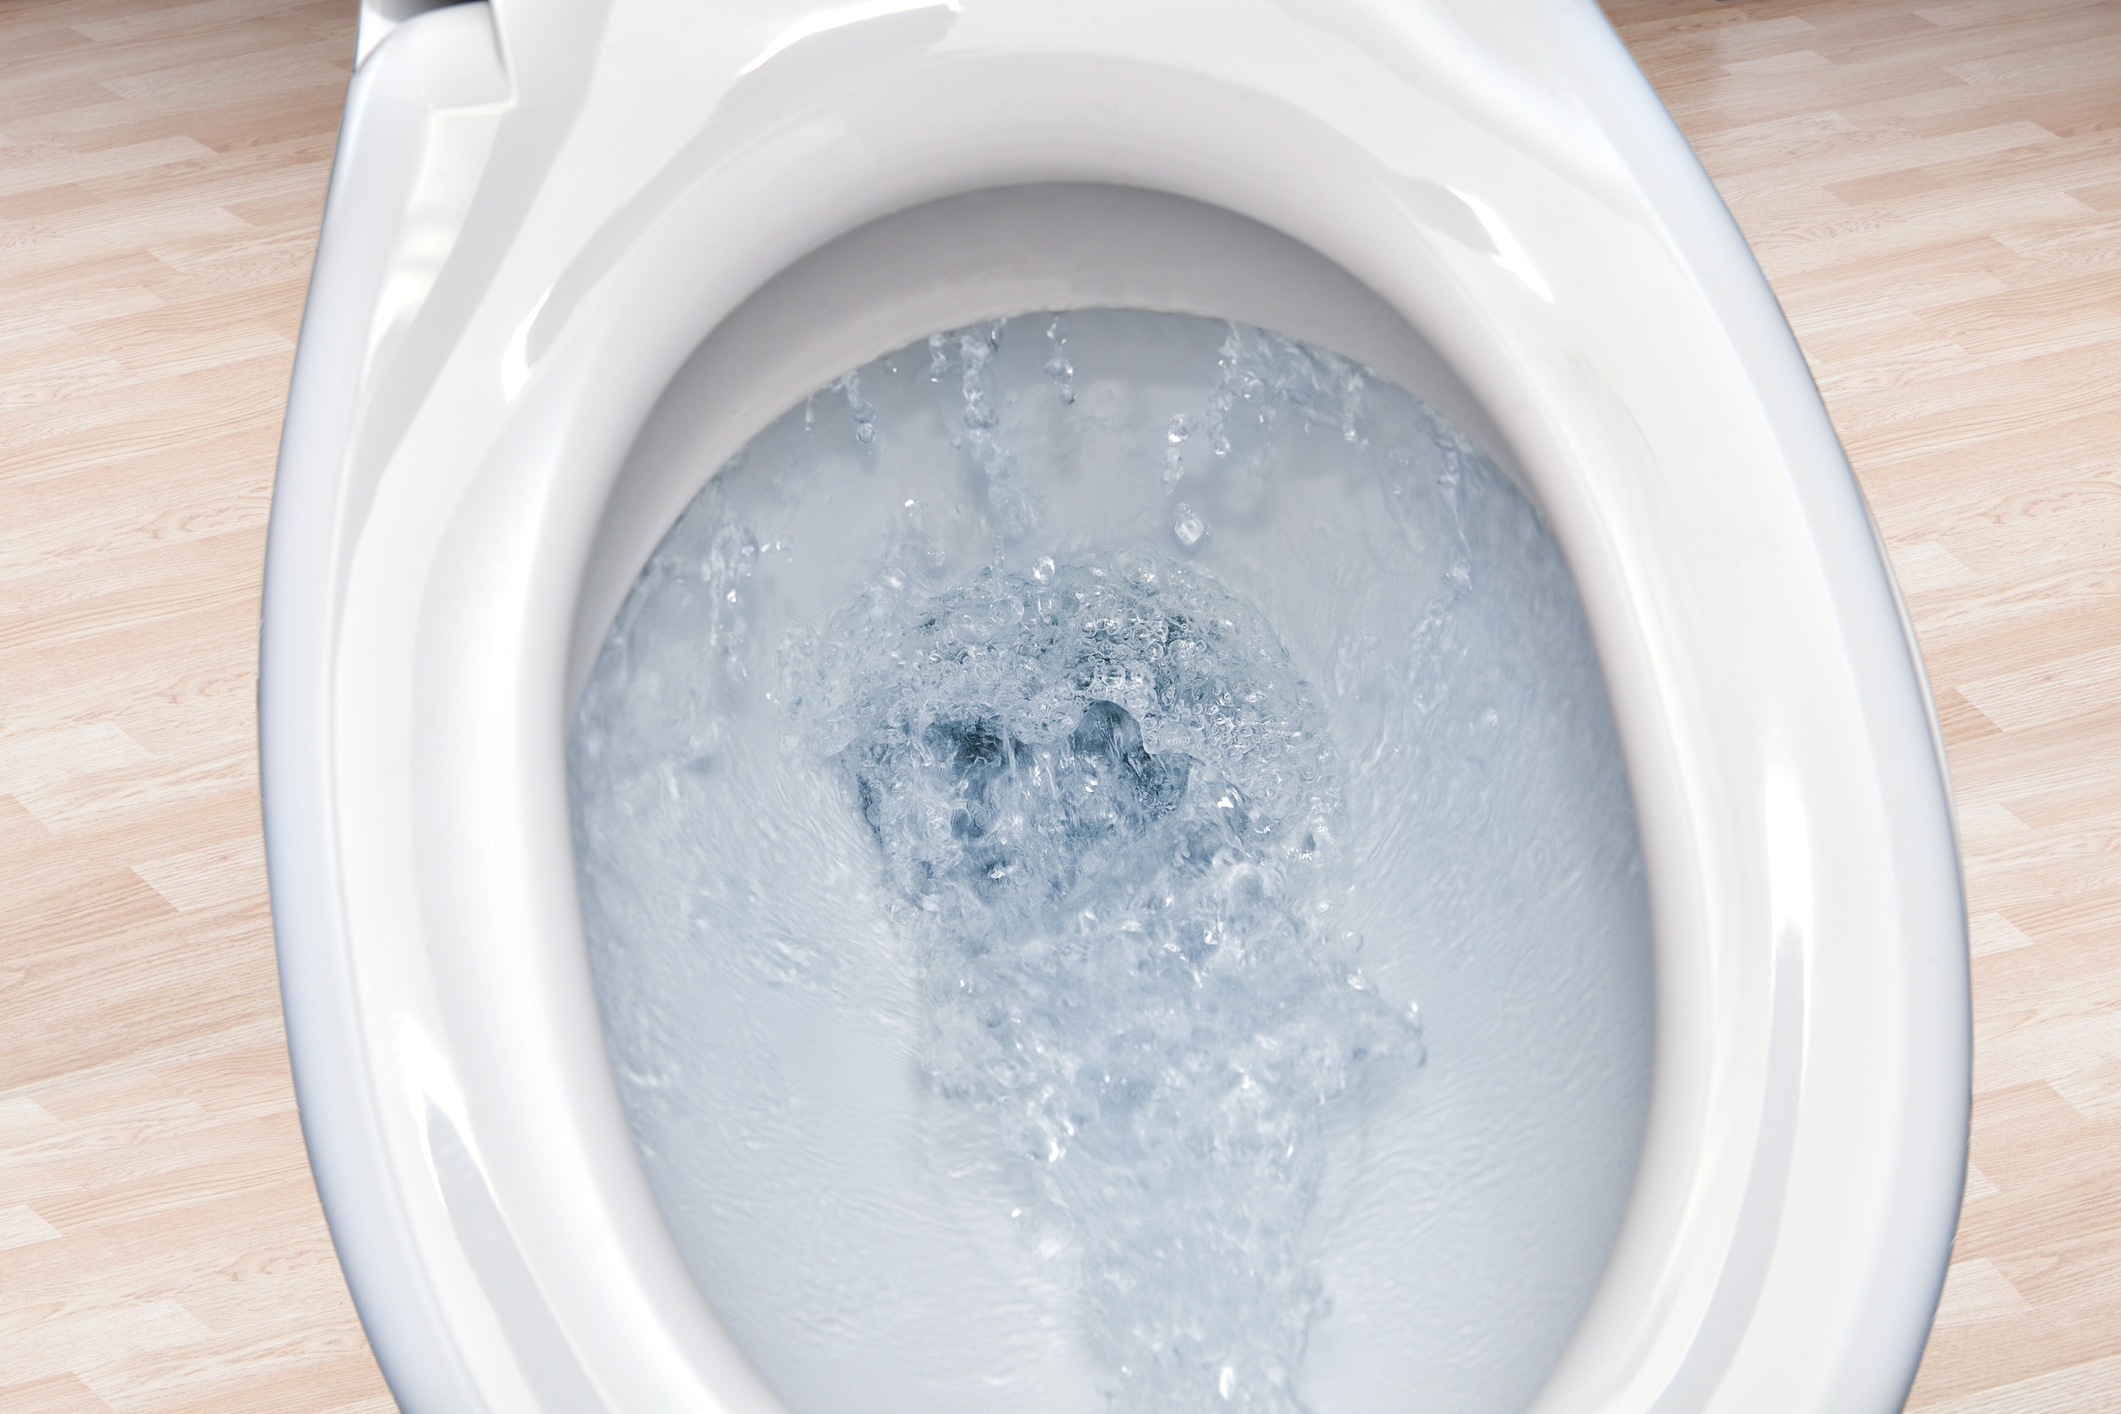
Every homeowner has experienced it, the constant and annoying sound of a toilet that always runs. Not only does this waste water, but it can be a major frustration. Luckily, fixing a running toilet can often be a simple DIY.
In this article, the professional plumbers at Legacy Plumbing discuss the common causes for a running toilet, along with a step-by-step guide for repair and advice on when to call a professional.
Common Causes of a Running Toilet
Running toilets are one of the most common plumbing problems in North Texas homes. There are many issues that can cause this, including:
- Worn flappers: The rubber flapper that seals the tank can become worn over time. When it does, water slowly leaks from the tank to the bowl.
- Chain issues: The chain on your flapper only needs 1/2 inch of slack. Too tight and the flapper will remain open; too loose and the chain will get stuck under the flapper, so it can’t seal.
- High water level: Your toilet’s waterline should never be above the overflow tube, as the water will spill into the bowl and keep the fill valve running.
- Fill valve leaks: Sediment, wear, or a bad diaphragm can cause your fill valve to leak and keep refilling a full tank.
- Float problems: A stuck or heavy float can indicate to your toilet that it’s not full, causing the tank to constantly fill.
Step-by-Step Guide To Fix a Running Toilet
In most cases, a running toilet is a DIY project. Simply grab an adjustable wrench, towels, pliers, and any replacement parts you may need. Then, follow this step-by-step guide:
- Turn off the water to your toilet. Then flush to empty the tank. Use a sponge or towel to remove any remaining water.
- To replace the flapper, unhook the chain from the handle arm and slide the flapper off. Clean the valve seat and replace the flapper, making sure to match the sizing. Adjust the chain to have 1/2 inch of slack.
- To adjust the water level, turn the adjustment screw on the top of the fill valve. If your toilet has a side clip, slide the float down to lower the water level.
- To replace the fill valve, remove the locknut holding the valve and insert a new valve to the proper height.
- Once your repairs are complete, turn the water back on and test that the toilet flushes properly.
When To Call a Professional
Not all plumbing issues can be handled by homeowners. At Legacy Plumbing, we recommend calling a professional if:
- The DIY fixes above did not solve your problem
- You see visible cracks or leaks in the tank or bowl
- There are corroded bolts or stuck shutoff valves
- You have a smart or specialty toilet
- You don’t feel comfortable attempting DIY repairs
Call Legacy Plumbing for Expert Repairs
Keep the toilets in your North Texas home reliable and functional with plumbing services from Legacy Plumbing. Our team of honest and trustworthy plumbers offers expert toilet repairs as part of our comprehensive bathroom plumbing services to ensure the most used rooms in your home operate hassle-free. With upfront, flat-rate pricing and an A+ BBB rating, you’re sure to receive top-tier care from our team.
Call Legacy Plumbing today to schedule toilet repair services in North Texas.


