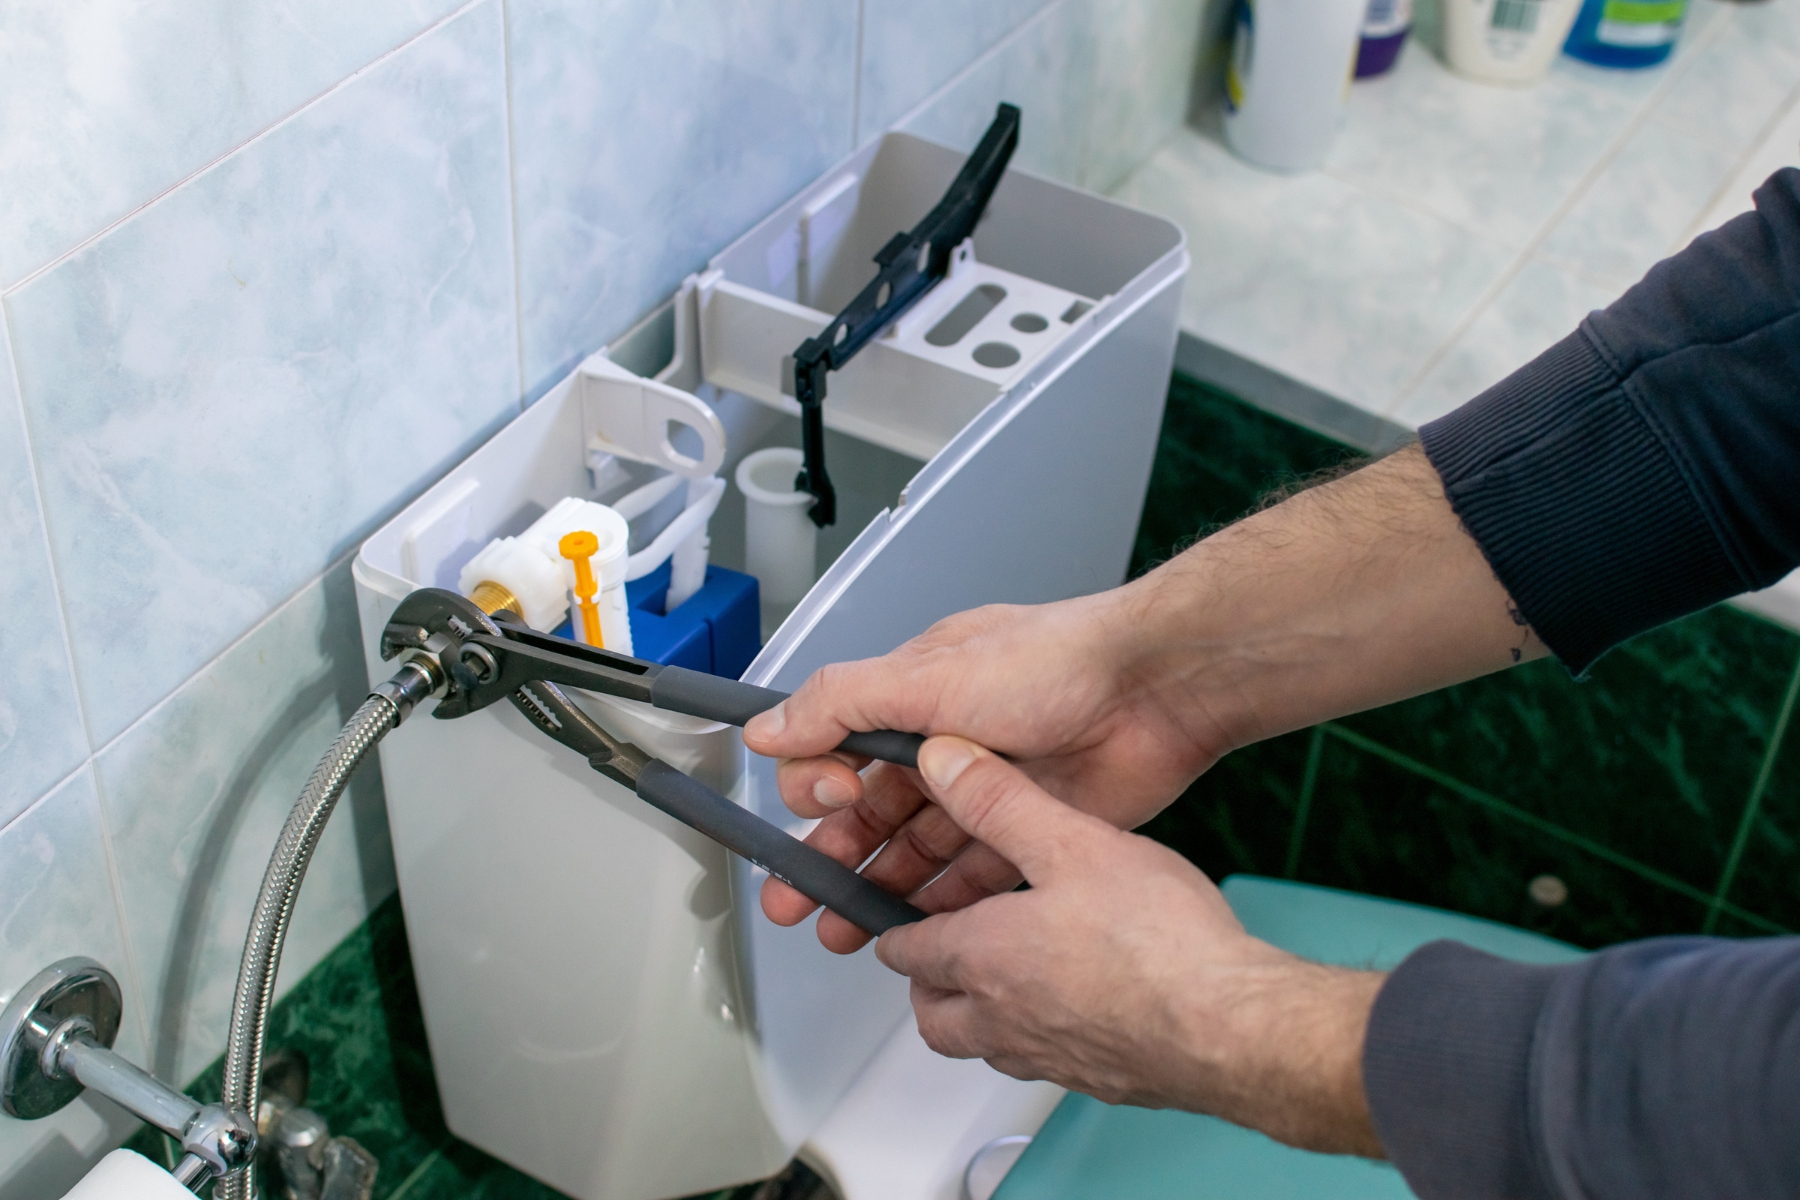
Going the DIY plumbing route isn’t always the best option. Lack of experience, equipment, and knowledge can turn a small problem into a very expensive mess.
However, simpler tasks are perfectly fine to complete on your own without the help of a plumber. Though getting their advice never hurts! Caulking your bathroom fixtures is a simple enough task, and can help you prevent water damage in your home.
Routine maintenance is an important part of being a homeowner. Caulking your bathroom is one of the regular tasks that help you prevent damage. Because bathtubs and sinks are used daily, the caulking between the fixture and wall cracks. Water seeps into the opening, damaging the joint and surrounding wall.
The specific places that need caulking will depend on the fixtures you have in your home. Typical places include the seam of your tub/shower, along with the top of tubs where it meets the wall, where tiles meet the ceiling, and around faucets.
Here is a simple breakdown to help you caulk your bathroom fixtures.
Buy the right kind of caulk
Bathroom caulk or silicone caulk should always be used to make the repair. Silicone caulk is permanent, waterproof, flexible, shrink-proof, crack-proof, and resistant to mildew
Remove old caulking
Existing caulk can generally be removed by using caulk softener and a utility and putty knife. Apply the softener/removed to existing caulk, and allow it to soak for a few hours. Score the softened caulking with a utility knife and carefully scrape it away with a putty knife.
If the caulking is not soft enough, a heat gun may be required. Keep the heat gun focused on the caulking, making sure not to use an excessively high temperature, while you use a knife to soften the caulking. Be careful to prevent personal injury and damaging adjacent bathroom furniture.
Clean the area
Make sure that all debris and old caulk has been removed. Use an old rag to thoroughly clean the area, and then wait until it is completely dry before applying the new caulking.
Apply new caulk
For larger areas, you may want to use a caulking gun. For smaller areas, like the bathroom sink, you can use a squeeze tube, which is easier for a novice to control. You want to make sure that you use the minimum amount of caulk necessary – too much will make the cleanup process harder. Use a bead of caulk to fill up the joint; work quickly to ensure a “skin” doesn’t develop. After applying the caulk, use a wet fingertip to lightly press the caulk into the joint.
If you’d like to protect the areas adjacent to the joint, you can apply masking tape to create a straight bead.
It normally takes between 1-3 hours for the caulk to set, but to be on the safe side, give it 24 hours.
And that is it! Simple enough.
If you ever encounter a more serious plumbing issue, be sure to give a professional plumber a call.